
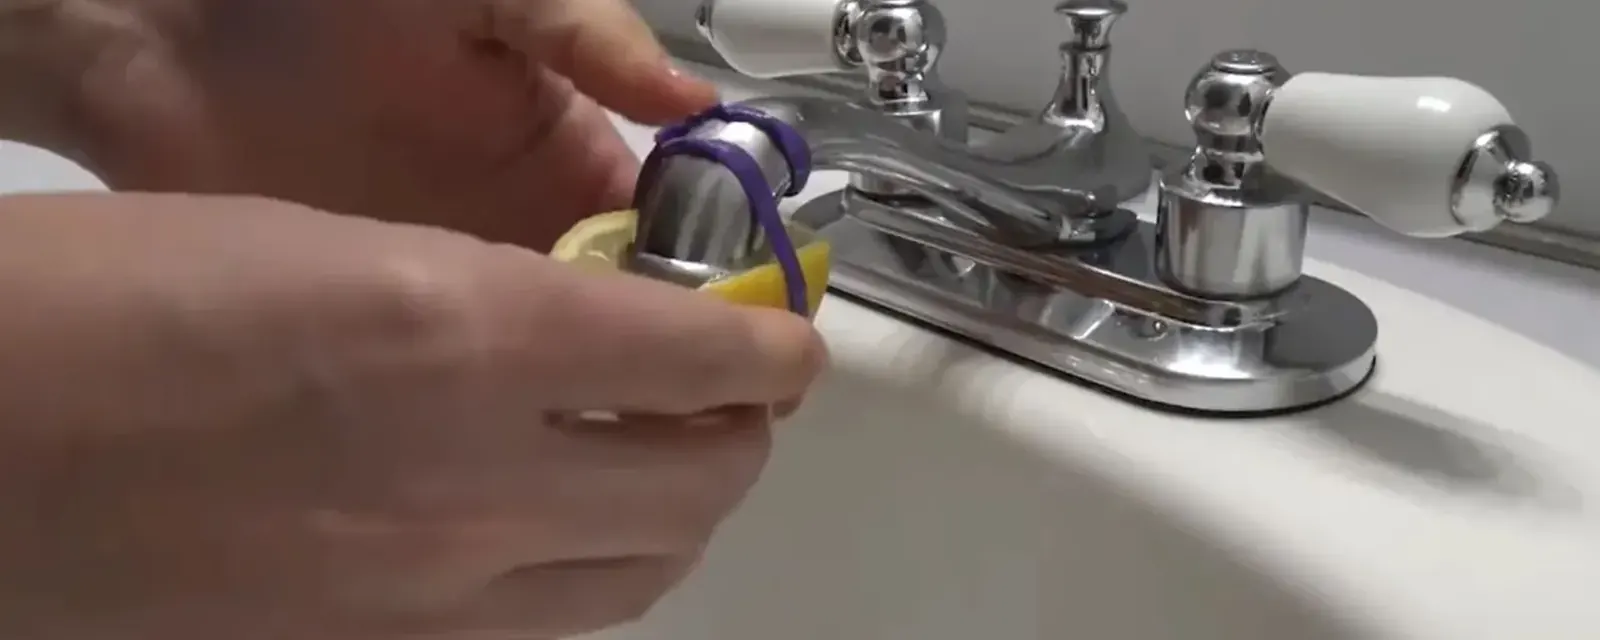
Identify your faucet first
Fixes depend on the faucet's design. A single-handle faucet that lifts and swings uses one cartridge. A two-handle faucet uses a stem and seat or a ceramic disc cartridge for each side. Look under the sink or at the handle for a model number, and note the finish and handle shape.
Take a photo of the faucet and the part if you remove it. A parts counter or the manufacturer can match it more reliably than a guess.
The usual causes of drips and stiffness
- Worn cartridge or seals: drips from the spout, handle that moves loosely.
- Mineral buildup: stiff handle, reduced flow, spray that splits.
- Loose handle screw: wobble without a leak.
- Failed O-ring: water at the base of a swivel spout.
- Corroded shutoff valve: cannot stop water for the repair.
Try the aerator first. A clogged aerator reduces flow and is the quickest fix. Unscrew it, soak it in vinegar and rinse it.
Replace the cartridge, step by step
- Shut off both supply valves under the sink and open the faucet to drain it.
- Plug the drain so no small part falls in.
- Remove the handle cap, screw and handle.
- Remove the retaining nut or clip that holds the cartridge.
- Pull the cartridge straight up, noting how it is oriented.
- Install the matching cartridge, aligned the same way.
- Reassemble, open the supplies slowly and check for leaks.
If the cartridge will not come out, do not force it. Scale can fuse it in place, and a puller tool or a plumber may be needed.
Repair or replace?
| Situation | Likely answer |
|---|---|
| Drip from a cartridge, finish in good shape | Repair |
| Pitted or flaking finish | Replace |
| Parts not available | Replace |
| Low flow cleared by cleaning the aerator | Repair |
| Leak from the faucet body | Replace |
A budget faucet with a failing body is rarely worth repeated repair. A newer replacement may use a standard cartridge and save time later.
When it is more than the faucet
If every faucet in the house has low pressure, the faucet is not the cause. If water leaks under the sink when the supply is on, check the supply lines and shutoff valves. If shutoffs will not close, replace them before you start any work, or close the main valve. See plumbing installation for new connections.
Parts you should have on hand
A small kit makes any faucet repair easier. Keep a set of hex keys, a flat-head and a Phillips screwdriver, an adjustable wrench, plumber's grease, a replacement cartridge or O-ring set matched to your faucet and a few rags. A basin wrench reaches nuts behind the sink, and a flashlight helps with the dark space under it.
Take a picture of the faucet before you take it apart. Photos of each step help you reassemble it, and a picture of the cartridge helps you match it at the parts counter.
When a leak under the sink is not the faucet
Water under the sink does not always come from the faucet. Check the supply lines, the shutoff valves and the drain trap. A dry paper towel run along each connection finds a slow drip.
If the leak shows up only when the faucet is on, the faucet body or a supply connection is the source. If it shows up when the sink drains, look at the trap and the drain connections. Fixing the wrong part wastes an afternoon, so find the leak before you buy anything.
Tips for a clean repair
Work with the water off and the sink stopper closed. Lay a towel in the basin so a dropped screw does not scratch it or fall down the drain. Keep parts in the order they come off, and set them on a clean rag.
When you reinstall a cartridge, line up the notch or tab exactly as it was. A cartridge that sits a quarter turn off gives hot water on the cold side, or a handle that stops in the wrong place. Tighten the retaining nut snugly and no more, since overtightening makes the handle stiff and can crack the body.
Finally, open the supplies slowly and run both hot and cold for a minute. Check the base, the handle and the supply lines for drips once more after an hour, because slow leaks take time to show.
Local note: scale and grains per gallon
WaterOne, which supplies Leawood, explains that you divide hardness in ppm by 17.1 to get grains per gallon. Its older goal of 120 to 140 mg/L works out to about 7 to 8 grains per gallon, enough to leave white crust on aerators and stiffen cartridges. Its current annual report shows today's number, and a home test kit tells you what your tap delivers.
Plan on cleaning aerators every few months and expect cartridges to last a bit less than in soft-water areas. In Prairie Village and Overland Park, the same utility supplies the water, so scale is a common thread.
Questions about Glacier Bay faucet repair in Leawood
Match it by model number or by pulling the old one and comparing it. Home centers stock common styles.
The cartridge seals are worn. Replacing the cartridge stops it.
Clean mineral buildup from the cartridge and lubricate with silicone grease.
Usually, by replacing the O-rings on the swivel.
If shutoff valves fail, the faucet is old or fused or you see a leak under the sink. The 24/7 line is open.